At long last, I find myself in a 100% comfort zone with
the GIMP. As a user, it's been a long road to get here ... I can't even imagine what the development teams have experienced over the past 16 years. Regardless, I am infinitely grateful for their efforts over that time, their hard work to bring the world a completely free, open source application for incredibly sophisticated image manipulation, drawing, and even painting.
I'll provide some more details on my experiences with GIMP 2.8, but first... a romp through the past!
I've been using graphics programs since my first exposure to the
Macintosh Plus and
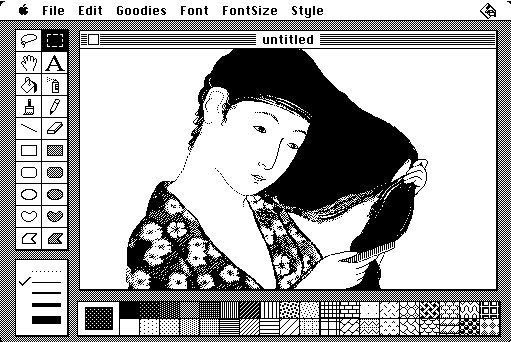
SE machines in the late 1980s, where the head of the science department at Bangor High School often found himself without access to his machine (yeah, thanks to me...). As much as a science geek as I was, it was actually the graphics programs to which I was addicted. In particular, I was obsessed with using
MacPaint to draw -- pixel by pixel -- a dithered bitmap of a photograph leaning next to the monitor.
About 6 or 7 years later, I was at it again doing graphics work on a non-profit's Mac (running
System 7) with
Photoshop 3.0 -- my first exposure to this software. It was absolutely mind-blowingly awesome what Photoshop enabled one to do with digital images. I was consumed. If I was awake, I was at the computer, creating something whacky from scratch or morphing something old into a new form. Though the work that I had done was focused on graphics for HTML and getting into the nascent field of "web design," some of my efforts ended up getting published as illustrations for a book.
I continued doing graphics as part of my work (in some form or another) from then on, usually borrowing a friend's machine in order to use Photoshop (which I could not afford). Despairing of not having my own copy of the software, I would often try out other drawing, painting, and image manipulations applications. Without fail, none would ever measure up to the power and even more, the usability, of Photoshop.
It wasn't too much after this that I got involved with Linux and open source software. As for many from that time, my life has not been the same since. But those early years were painful. My first distro (Slackware), I had to manually hack the ethernet drivers in C just to get connected to the network using my particular hardware. Regardless, Linux was all I could think about; it was all I wanted to use.
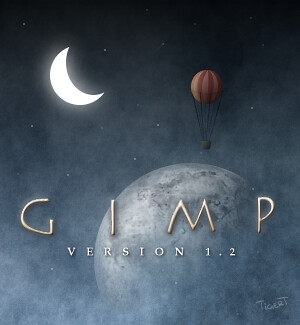
Desperately hungering for a Photoshop-like experience on Linux, I searched HotBot on a regular basis, and finally discovered GIMP. Based on a quick glance at the now-historic splash screens, it looks like my first use of the GIMP started after the 1.0 release, though I didn't start using it more regularly until 1.2 (which had my favorite GIMP splash screen to date).
Despite my hopes and the best efforts of an amazing development team, the GIMP infuriated me. What took one step in Photoshop usually took about 5 steps in the GIMP. The user interface was anti-intuitive, and seemed to be built by folks with an intimate knowledge of the underlying API and reflected this far too well.
With each major release of the GIMP, I would find myself downloading and installing it, but only actually using it a handful of times. Ultimately, I'd run crying back to Photoshop, borrowing a friend's computer or persuading someone to give me an unused copy. The very nature of graphic arts is visual and intuitive... I felt that the GIMP was blocking that natural flow. As a result, I couldn't get anything done in it (and what little I did looked bad).
Year later, while working at
Canonical, I had several opportunities to create graphics for various fun projects, gags, or practical jokes. Given the nature of the company's mission, I made sure to do that work using the GIMP. Though the pain of the old days had faded considerably, and GIMP had, by 2008, reached a much higher degree of usability, I still found myself enduring awkward workflow moments on a regular basis and this continued throughout the 4 years of version 2.6's release. However, during that time, an impressive selection of GIMP plugins were created, some of which I came to adore so completely that I would switch from Photoshop
to GIMP, just so I could use them on a project. This was a new -- and amazingly welcome -- change for me.
Then, earlier this year, the last few pieces fell into place.
With the release of GIMP 2.8 in May, I have not looked for nor pined over any other sophisticated graphics programs. At long last, the GIMP completely satisfies. The biggest single point of pain for me in 2.6 (given that I was running on Mac OS X most of the time) was the lack of single-window support. For every UI interaction, I had to click twice -- once to focus on the window, and once to actually perform the given action. It was crazy-making. 2.8 finally released the goodness of single-window mode for GIMP users around the globe. Futhermore, since I have been a layer-using maniac since Photoshop 3.0 and my graphics files tend to reach into the 200 and 300 MB range due to the numbers of layers (and resolution, of course), I have a desperate need to organize the chaos of all those layers. Prior to 2.8, my layer pallet on large projects was almost completely unnavigable. With 2.8, sanity and cleanliness abounds.
And there's more :-) Check out this short list:
- single-window mode
- multi-column dock windows
- increased screen real-estate
- layer groups
- Cairo is used for all rendering
- on-canvas text editing
For more details, you'll want to visit
this page.
Oddly, this walk down memory lane and ultimate endorsement of the GIMP relates to MindPool. I used the GIMP to do all the complicated graphics work for our initial branding, logos, etc.
Looking at the results, I'm sure if seems fairly silly and even trivial... but there's a LOT that went into that simplicity :-)
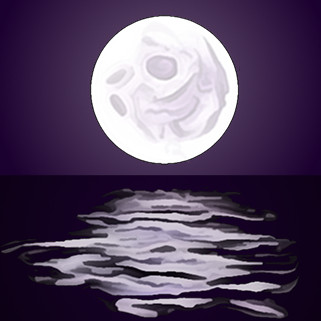
For instance, the shot of the moon is actually taken from a photograph of the moon. It has been passed through multiple filters in order to get just the level of abstract color and shape I was looking for. Similarly for the water, but the settings were actually quite different to achieve the result I was seeking. I think the layer count peaked around 30 in one version of the file.
Another example is the logo that we'll be using for the
company's main site. This also took advantage of some plugins (new and old), though mostly it relied upon paths, brush strokes, and mask layers (the latter for the water pool reflection watermarked into the image). The new features in 2.8 made all of that work very easy to do. No longer is the tool interfering with my workflow; rather, it is facilitating it. Working with graphics using open source tools is now an absolute pleasure for me.
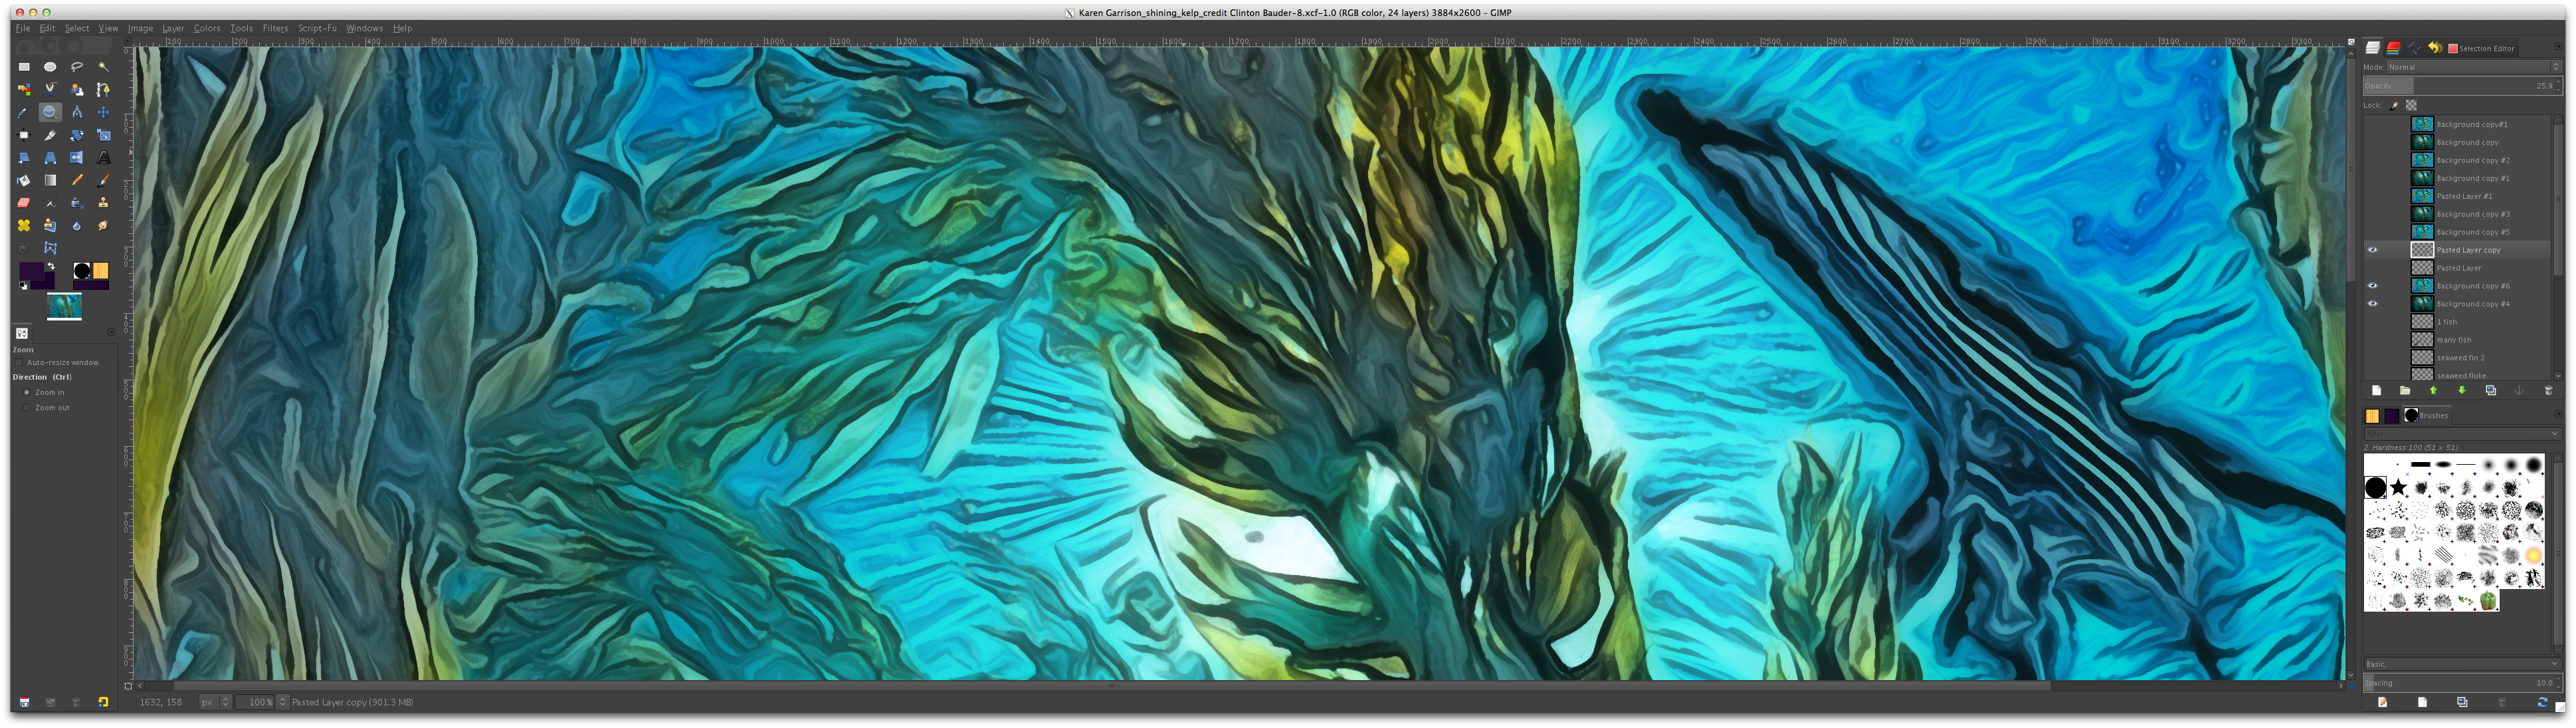
For giggles, I'm including a screenshot of GIMP 2.8 in action, with my single-window mode view stretched across two 27" monitors (full version is
here). Graphical editing has never been so clean!
Thanks, GIMP team :-) It's nice to finally be home.
Fun link: For the historically inclined, you might enjoy
this quick read about the beginnings of Photoshop and the family that made it all happen :-)


